Tensorflow for Deep Learning 2
笔记2: TensorFlow Ops
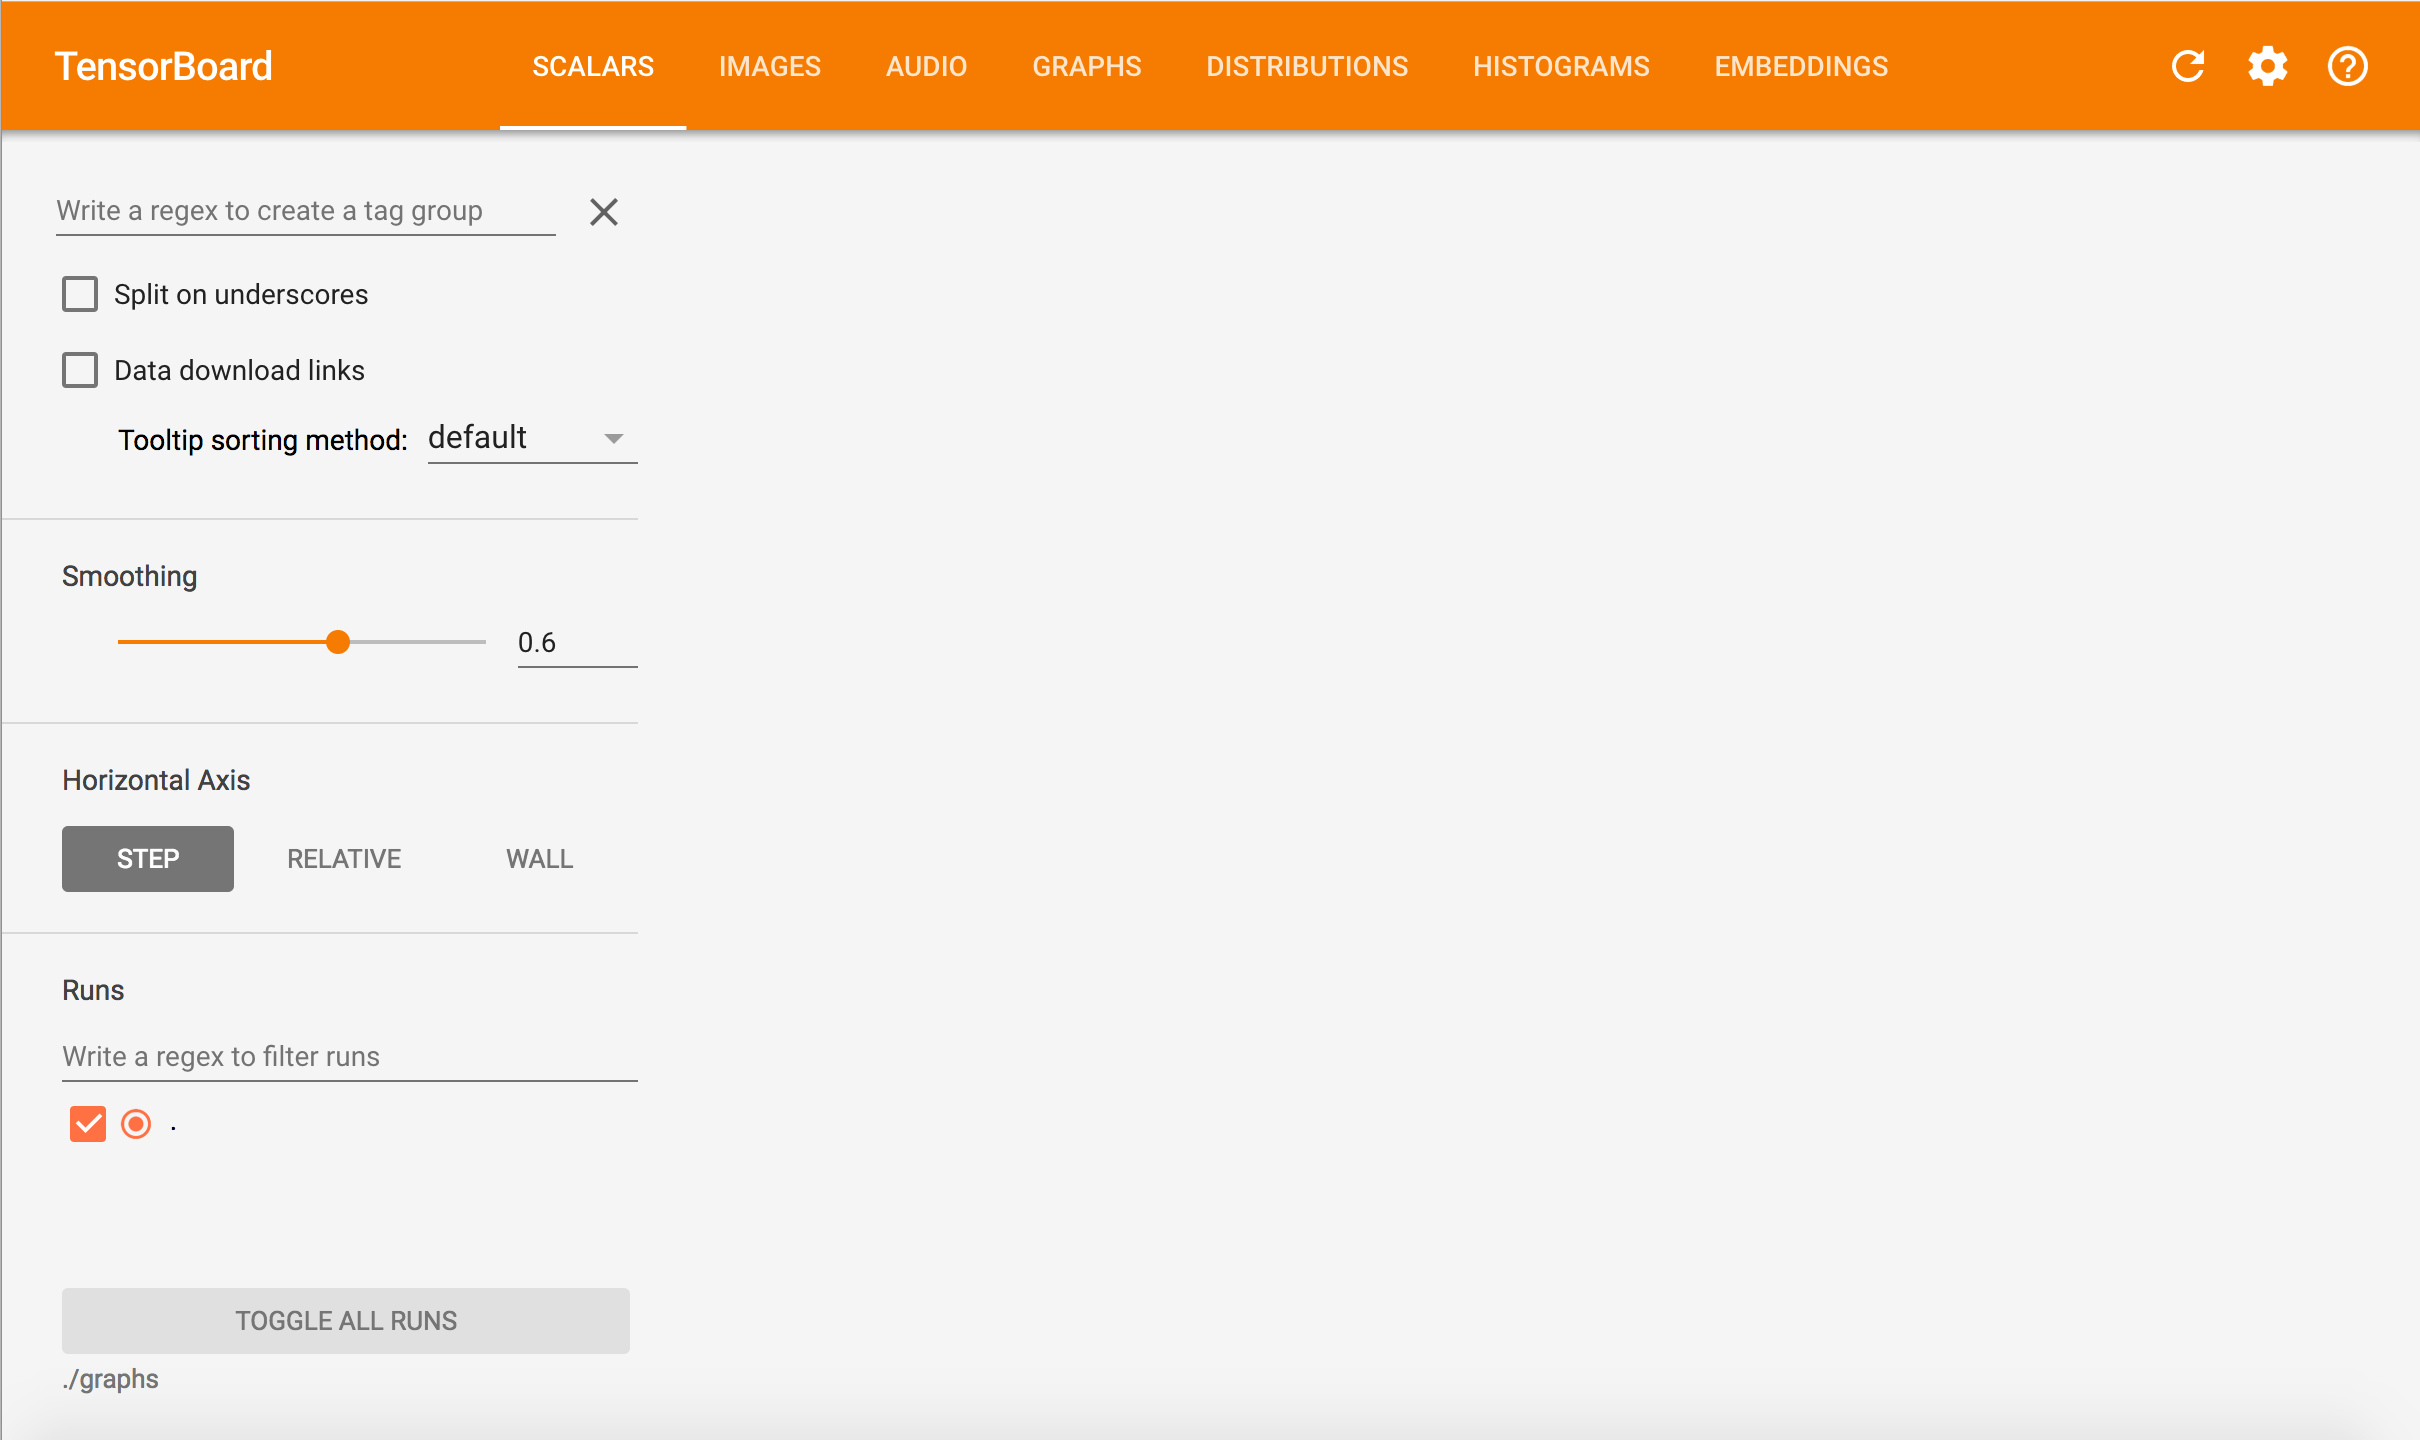
使用 TensorBoard
TensorFlow 中将常量(constants),变量(variables),运算符(operators)合称为操作(ops)。TensorFlow 是由TensorFlow, TensorBoard, TensorServing 构成。首先介绍 TensorBoard。
TensorBoard 是图可视化软件。

当用户运行开启 TensorBoard 的 TensorFlow 程序,所有操作会输出到一个事件文件。TensorBoard 能将这些文件转为图,使模型更直观。
1 | import tensorflow as tf |
开启 TensorBoard 只需要在运行程序的代码前添加
writer = tf.summary.FileWriter(logs_dir,sess.graph)
其中 logs_dir 是事件文件的存放位置,比如’./graphs’。
1 | import tensorflow as tf |
在执行完上述代码以后,使用 tensorboard --logdir="./graphs",之后打开浏览器访问 h ttp://localhost:6006/ 就能看到以下页面。 建议使用 Chrome 访问。
点击导航上的 Graphs 可以看到
“Const” 和 “Const_1” 对应代码中的 a 和 b, “Add” 对应 x。这样很不直观,所以为了让 TensorBoard 显示 操作(ops) 的名字,可以准确定义每个变量。
1 | a = tf.constant([2, 2], name="a") |
这时候 TensorBoard 中的图就是这样:
图本身只定义了操作和操作来源,但不显示值。只有在运行session时才会去获取值。
tf.Session.run(fetches, feed_dict=None, options=None, run_metadata=None)
常量
创建标量或者张量(tensor)类型的常量。
1 | tf.constant(value, dtype=None, shape=None, name='Const', verify_shape=False) |
创建由特定值构成的张量。
1 | # create a tensor of shape and all elements are zeros |
1 | # create a tensor of shape and type (unless type is specified) as the input_tensor but all elements are zeros. |
1 | # create a tensor of shape and all elements are ones |
1 | # create a tensor of shape and type (unless type is specified) as the input_tensor but all elements are ones. |
1 | # create a tensor filled with a scalar value. |
创建常数序列
1 | # create a sequence of num evenlyspaced values are generated beginning at start. If num > 1, the values in the sequence increase by stop - start / num - 1, so that the last one is exactly stop. |
1 | # create a sequence of numbers that begins at start and extends by increments of delta up to but not including limit |
值得注意的是,不像NumPy,TensorFlow的序列是不可迭代的
tf也提供了生成确定分布的随机常量的函数。
1 | tf.random_normal(shape, mean=0.0, stddev=1.0, dtype=dtypes.float32, seed=None, name=None) |
数学运算
TensorFlow 的数学运算和 NumPy 非常类似。直接看 Math API 吧。
数据类型
Python 原生类型
看下面的例子就能懂了。
1 | t_0 = 19 # Treated as a 0-d tensor, or "scalar" |
TensorFlow 原生类型
TensorFlow 有自己的数据类型,比如tf.int32, tf.float32。更多详情Data types
NumPy 数据类型
TensorFlow 被设计成与 Numpy 兼容,所以 TensorFlow 的数据类型是基于 NumPy 的,甚至 np.int32 == tf.int32 返回 True。所以可以
1 | tf.ones([2, 2], np.float32) == > [[1.0 1.0], [1.0 1.0]] |
长话短说,TensorFlow 类型和 NumPy 类型可以互相转换,但 TensorFlow 优点更多。
变量
变量被赋值以后还是可以改变,与值储存在 图 中的常量不同,变量是分开的,可能存在参数服务器上。
关于 图 的定义和 图 所包含的内容可以靠打印 图 的 protobuf(Protocol Buffers,是Google公司开发的一种数据描述语言)。
1 | import tensorflow as tf |
输出就 protobuf。
声明变量
声明变量需要通过实例化 tf.Variable。
1 | # create variable a with scalar value |
tf.Variable 支持以下几个操作:
1 | x = tf.Variable(...) |
在使用变量之前必须初始化。使用 tf.global_variables_initializer() 可以非常简单的初始化所有变量。
1 | init = tf.global_variables_initializer() |
也可以使用 tf.Variable.initializer 初始化每个变量。
1 | # create variable W as 784 x 10 tensor, filled with zeros |
求变量的值
如果仅打印初始化的变量,得到的是 tensor 对象。
1 | # W is a random 700 x 100 variable object |
为了得到变量的值,需要用求值函数eval()。
1 | # W is a random 700 x 100 variable object |
赋值
使用 tf.Variable.assign() 来给变量分配值。
1 | W = tf.Variable(10) |
然而上面代码的结果还是10,为什么呢?
因为上面的 assign 只是一个操作,并没有去执行。需要在 session 里运行这个操作才能让其有作用。
1 | W = tf.Variable(10) |
这里没进行初始化,是因为 assgin 替我们完成了初始化的操作。其实初始化操作也是一种赋值操作。
1 | # create a variable whose original value is 2 |
TensorFlow 每次 a_times_two 都会将 a 乘 2。
对于简单的加减,TensorFlow 提供了 tf.Variable.assign_add() 和 tf.Variable.assign_sub() 方法。要注意的是,这两个方法不会初始化变量。
1 | W = tf.Variable(10) |
TensorFlow 的每个 session 维护各自的值。
当然 变量 可以基于其他 变量 。 比如声明 U = W * 2。
1 | # W is a random 700 x 100 tensor |
当然这里最好确保W要先初始化。
1 | U = tf.Variable(W.initial_value() * 2) |
InteractiveSession(交互式会话)
InteractiveSession 与 Session 不同的地方在于前者会将其本身作为默认的会话,所以之后调用 run() 或 eval() 可以不用指明会话。虽然很方便,但如果有多个会话就很麻烦。
1 | sess = tf.InteractiveSession() |
tf.get_default_session() 返回当前线程的默认会话。
Control Dependencies
如果有两个独立操作,想指明哪个操作先执行,可以使用 tf.Graph.control_dependencies(control_inputs)
1 | # your graph g have 5 ops: a, b, c, d, e |
Placeholders(占位符) 和 feed_dict
TensorFlow 程序通常有两个时期:
- 构造一个 图
- 在 图 里使用 会话 执行 操作
所以在构造 图 的时候,可以不需要知道计算的具体值,类似于定义一个函数。比如 f(x, y) = x*2 + y,x,y 就是 Placeholders(占位符) 。
定义占位符
1 | tf.placeholder(dtype, shape=None, name=None) |
Dtype 是必须的参数指明了占位符的数据类型。
Shape 规定了占位符能接受的张量的维度。shape=None 表示任何维度都可以接受。坏处就是不好debug。
只定义了占位符还没用,需要通过获取值来进行计算。placeholder 获取的值通过一个字典。
1 | # create a placeholder of type float 32-bit, shape is a vector of 3 elements |
获取值不仅仅是占位符可以,任何可获取值的张量都可以。使用一下方法可以确定张量是否可获取值:
1 | tf.Graph.is_feedable(tensor) |
比如
1 | # create Operations, Tensors, etc (using the default graph) |
懒加载
懒加载是一种编程模式,表示直到加载的时候才声明或者初始化。在 TensorFlow 中,表示直到进行计算的时候才创建这个操作。
比如正常情况下,
1 | x = tf.Variable(10, name='x') |
而懒加载的代码
1 | x = tf.Variable(10, name='x') |
通过查看 TensorBoard ,可以发现不同之处。
当然,也可以通过查看 图 定义,使用
1 | print tf.get_default_graph().as_graph_def() |
发现后者,也就是懒加载中,节点 里多了9个 Add 操作的拷贝。明明同样的操作,却会造成很大的开销。为了避免这个情况,尽量分开定义操作和执行。另一种就是使用 Python property装饰器。